

Up close view of the “woodless” wood paneled wall!
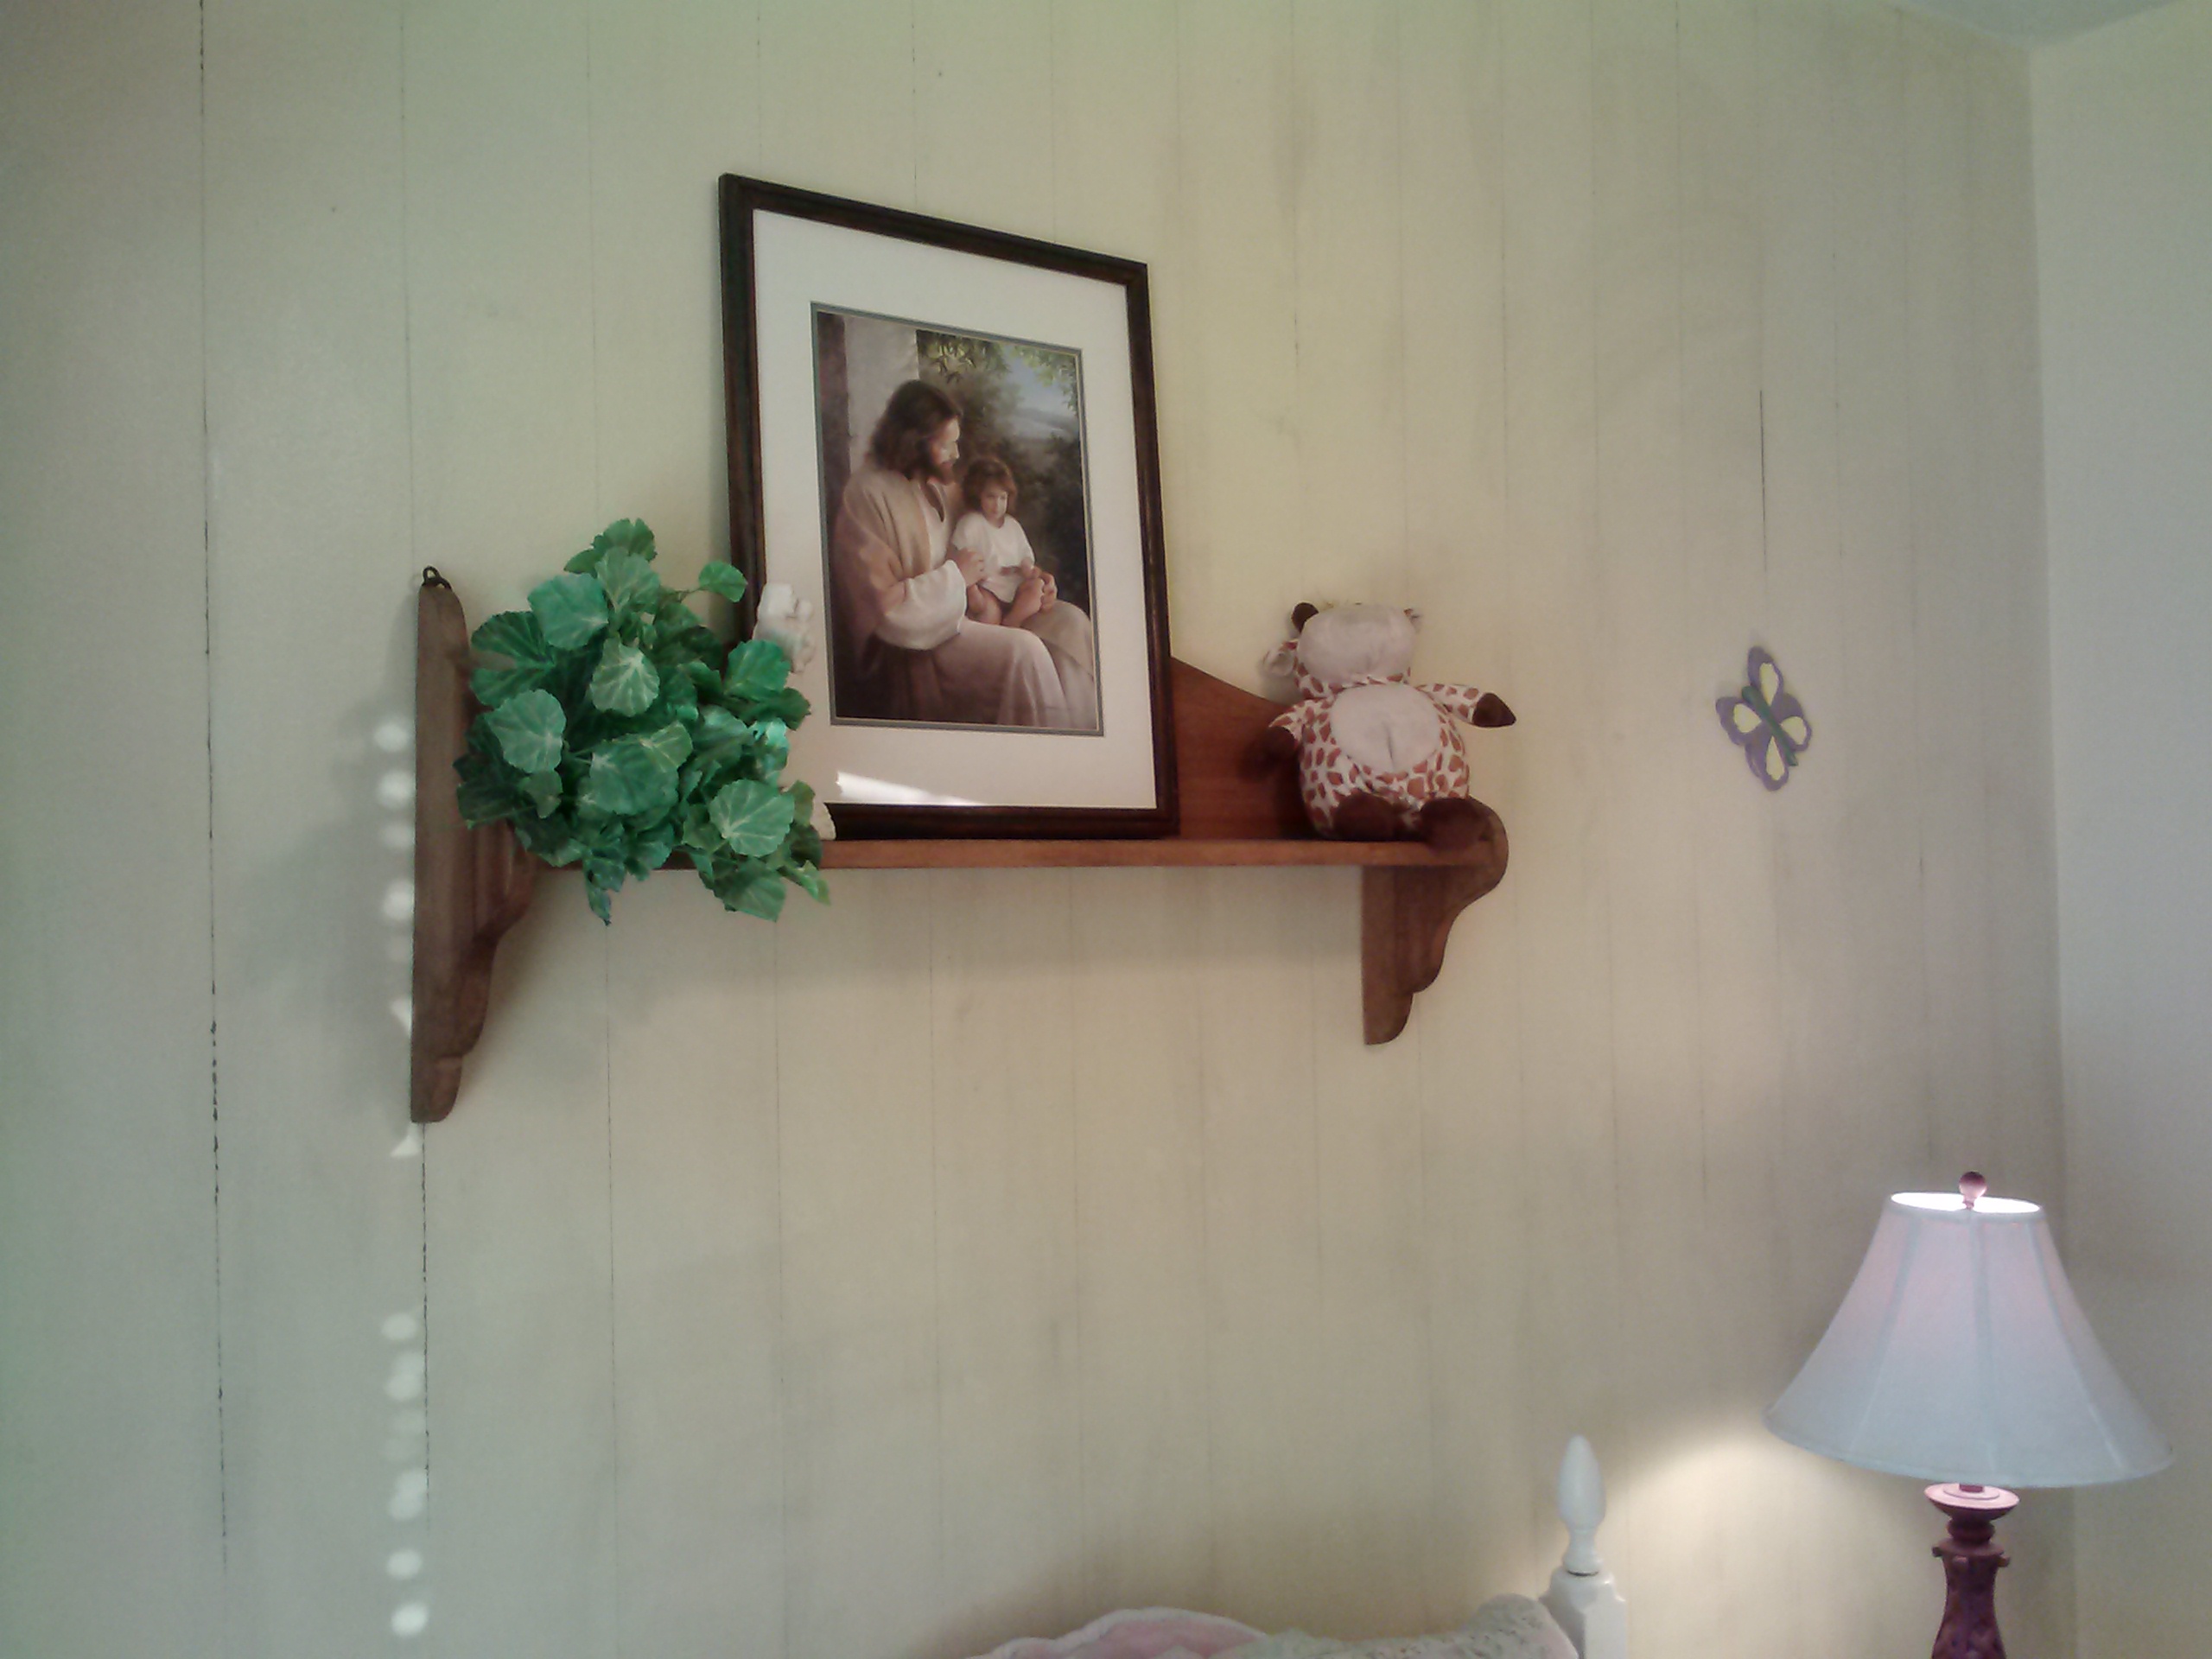
Another shot…. it is really hard to get a good picture in this room. It is so bright with the sun coming through the window.
How about we go out in 2014 with a bang!! Boy, howdy, when my dear husband realizes how I did this project, it just might really be a bang! I told him that I painted a wall in my daughter’s room, just not quite, HOW, I painted said wall! This was done in a super flash yesterday (I NEEDED to be done before Ed got home!) and I haven’t really dared look at it all that much since then. But, this morning, with the sunlight coming through the window, I stood back, took a deep breath, and realized…. IT TURNED OUT TOTALLY AWESOME!!!! I have wanted wood paneled walls on this wall for some time. And with the cheap paneling, surely $40 to $50 is not too bad of a price for that type of project… but I have NO cash for projects right now, and my dear husband has NO time to help me out. I searched and searched for any faux methods out there. I have had this crazy little idea popping in and out of my head for some time now…. I thought surely there was some other individuals out there on the blog world who had thought of this crazy-fool idea! But, to my searching, I can’t find ANYONE red-necked enough to have tried this idea! What can I say, desperation is a great motivator!! Well, enough with the words….My sister told us bloggers to dispense with too many words and get to the meat, so, dear Heidi, let me tell you how I did it….
DISCLAIMER… IF you try this on your walls…. I can not be held liable for ANYTHING…. Just sayin’! Make sure you never want to change them, or at least if you do, you consider re-mudding, paneling, or wallpaper as a cover up option. Are you scared yet? You should be!!
I was too scared during the process to take any pictures… sorry! I started by marking off every six inches top and bottom. I had my two boys help me with the chalk line. We chalked every six inches down the wall. I then took a 4-ft level, and a sharp nail…. yah…scary part. Then I scored the wall down those chalk lines. After a few deep breaths, I finally got comfortable with it. A big mistake was scoring it too much…. you only want to run your nail over it once or twice. Just barely make a line. You can see some places that are darker than others… I got a little carried away with the scoring. After it was all scored, I took a glazing liquid that I have had for years, black in color, and I mixed it with some water. I took a rag and dipped it into the glaze and spread it over the walls… remembering to work in small sections at a time. Let it sit for about three to five minutes, then came back over it with a wet clean rag…I found that I needed to rinse my rag out quite frequently to avoid too much glazing being spread around. I also found that wiping it from side to side, rather than top to bottom worked best to settle it into the grooves. It left the glaze right in those little scored grooves. I intentionally left a small amount of the glazing all over the wall. It seems to give it an antiqued wood paneled look. 
I wish the pictures were better, because they really don’t give it justice, but, not to shabby for a red neck!!!

You must be logged in to post a comment.