
Leave it up to me to be wanting to do something different to my kitchen RIGHT BEFORE the holidays…. I should be baking… not painting!!! However, I have been wanting something new for way too long. I absolutely LOVED my caramel colored kitchen; but recently, I just wanted a change. Last week, I walked into the paint store to discover they have a mistinted paint that would work just great for my kitchen!! Woo Hoo!! Couldn’t pass that one up. So, I painted my kitchen; however, being addicted to color like I am, it was still far too light. It still needed something… a splash of color somewhere. I thought about all my different options for a backsplash… seriously, I spent DAYS researching what I could do on my zero-budget limit. I was becoming depressed… whatever I did was going to cost me… a lot!
I happened to be putting some things up yesterday, when I opened up my craft paint drawer. All of a sudden, a light-bulb went off. I could at least try a spot, and if it didn’t work, I could always just paint back over it, right? So, I had painted my backsplash area my trim color that is in my home. Luckily I still had TONS of it left over! I then taped off a brick pattern. This took FOREVER!! I had my boys help me with a chalk-line this morning before they went to school just to try to speed things up a bit. I roughly cut around the edges of the tape so that it would be a jagged edge of both sides.

My three paint colors… burgundy, brown, and white!

First wall down!

This is how I do my paint. Next to each other, then pick up both colors with your brush or sponge. That way you are getting both colors on at the same time… do NOT mix them.
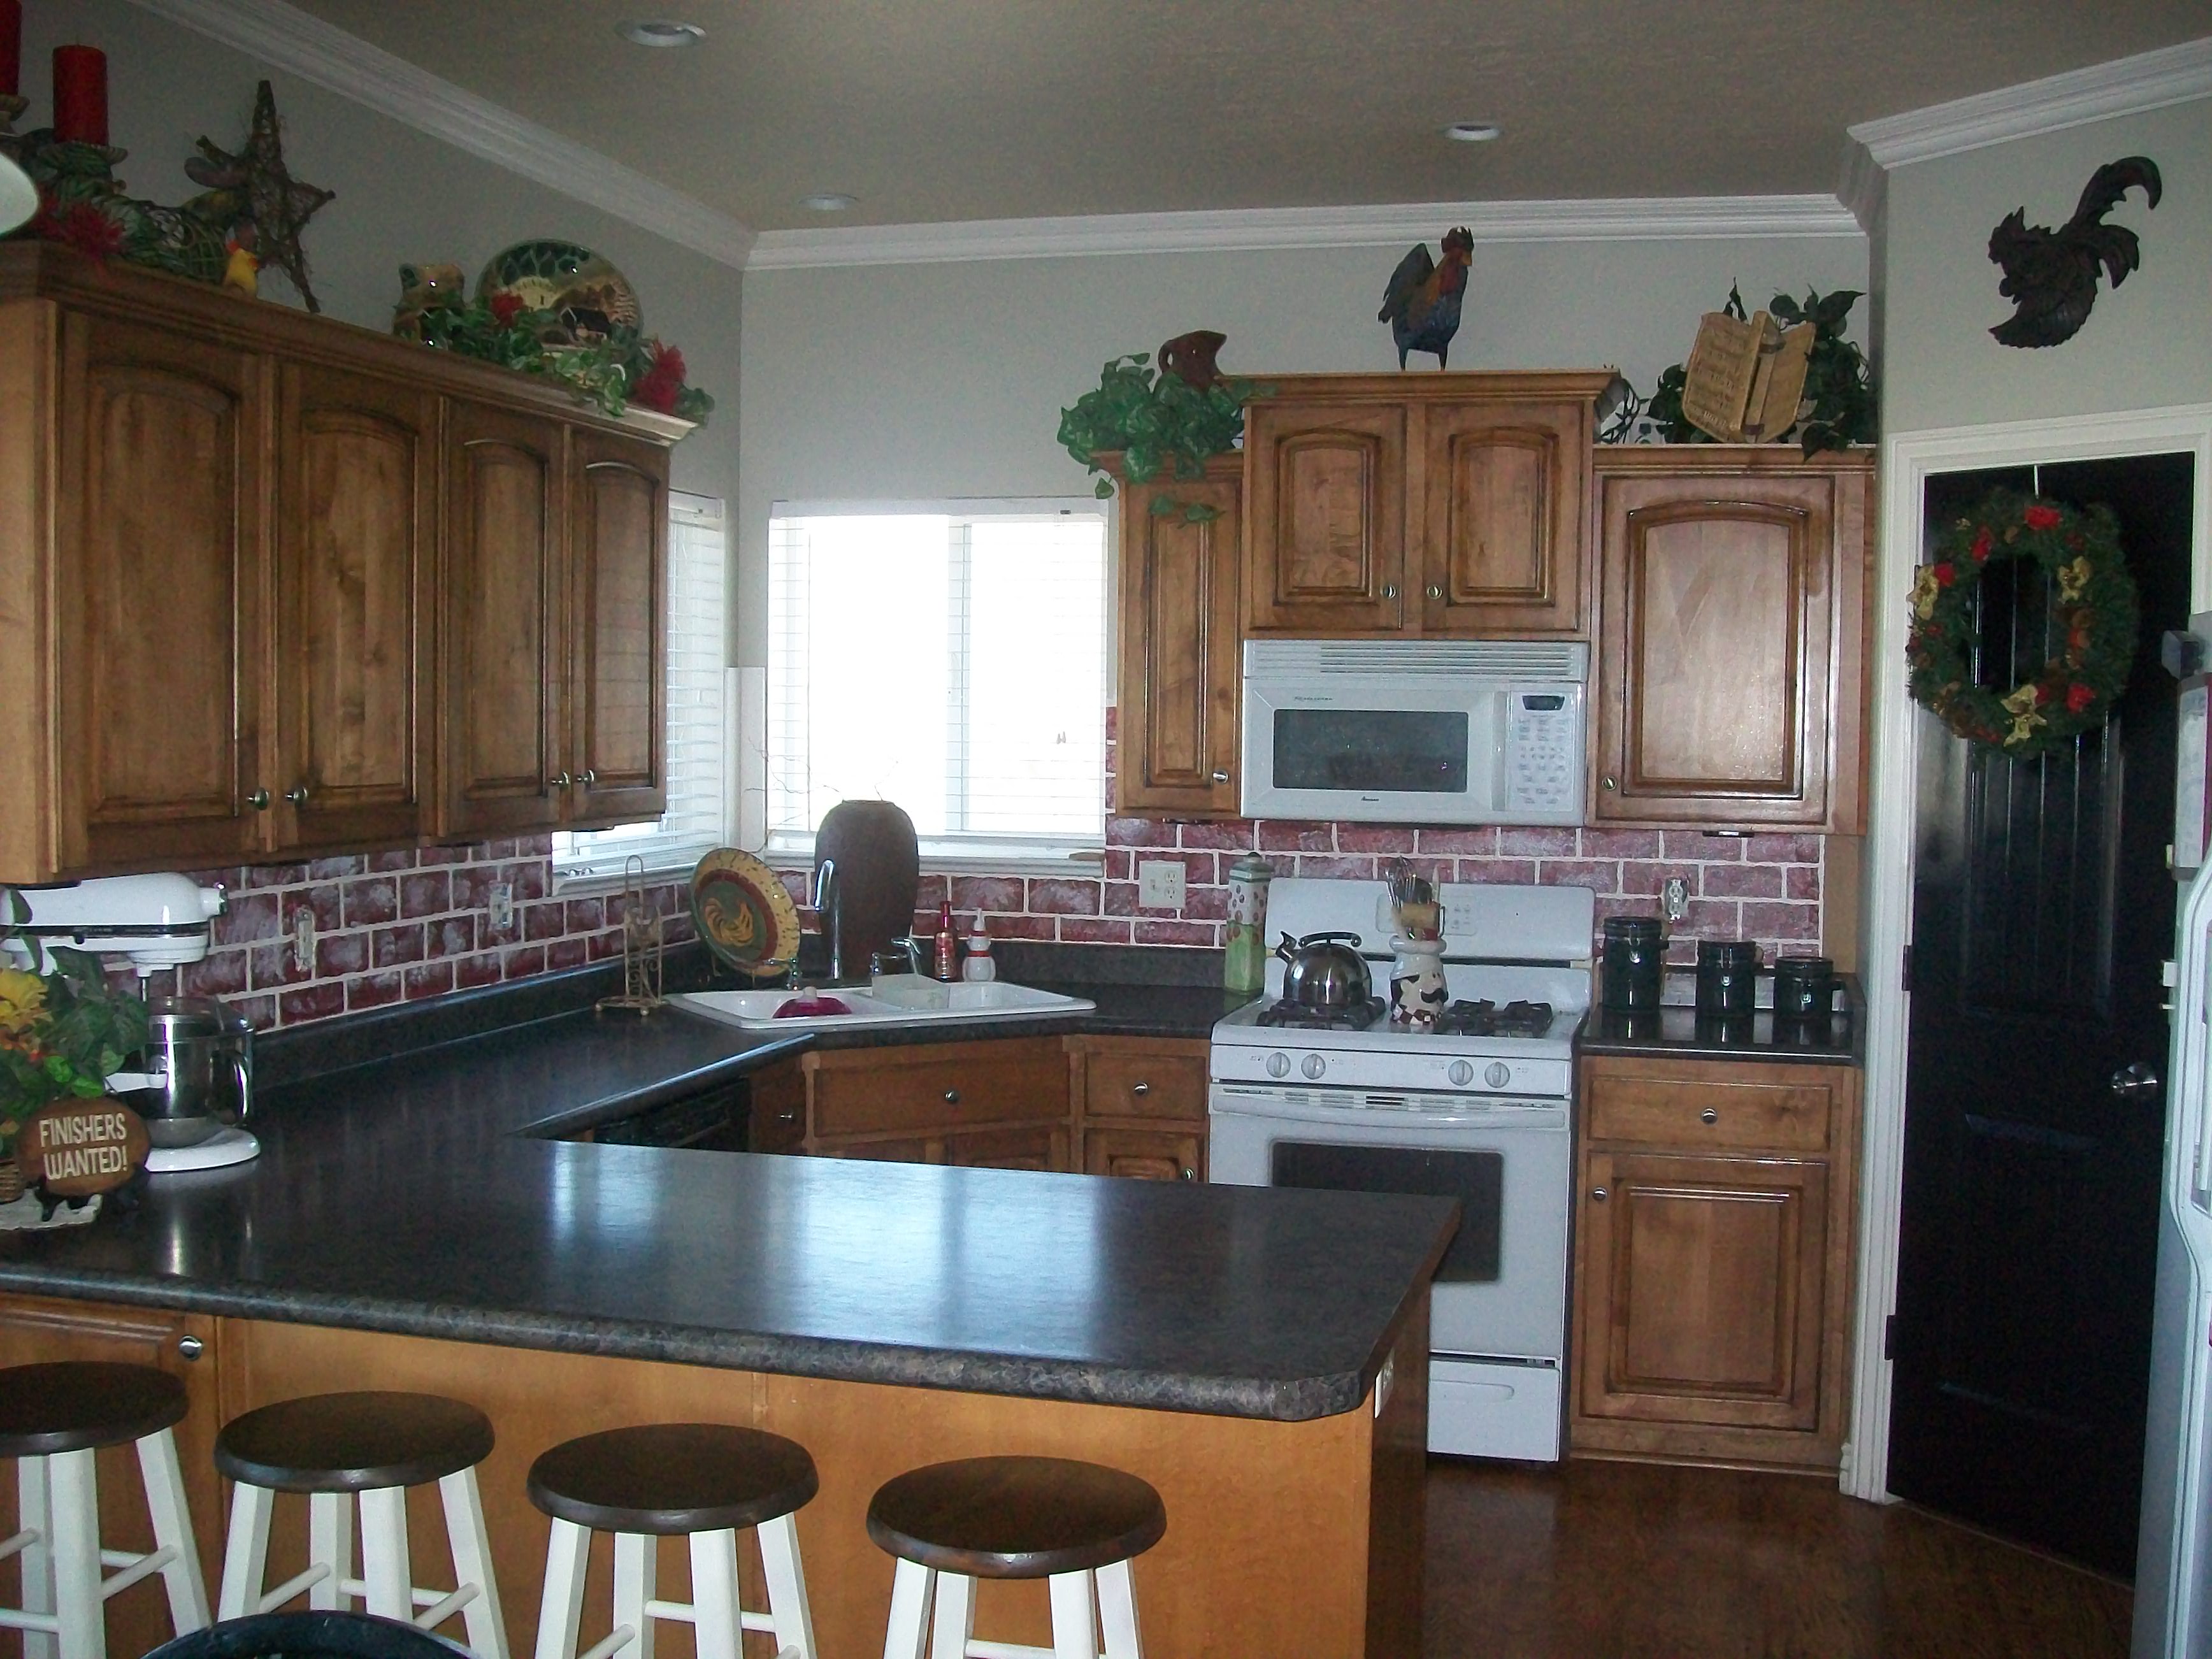
It gives it a splash of color, which I love!

I know it’s not perfect, but I like it! I just took those white boards in the corner of my window out and painted the brick pattern in that space. It looks 100 times better!

My pantry door that I painted black with two cans of spray paint!
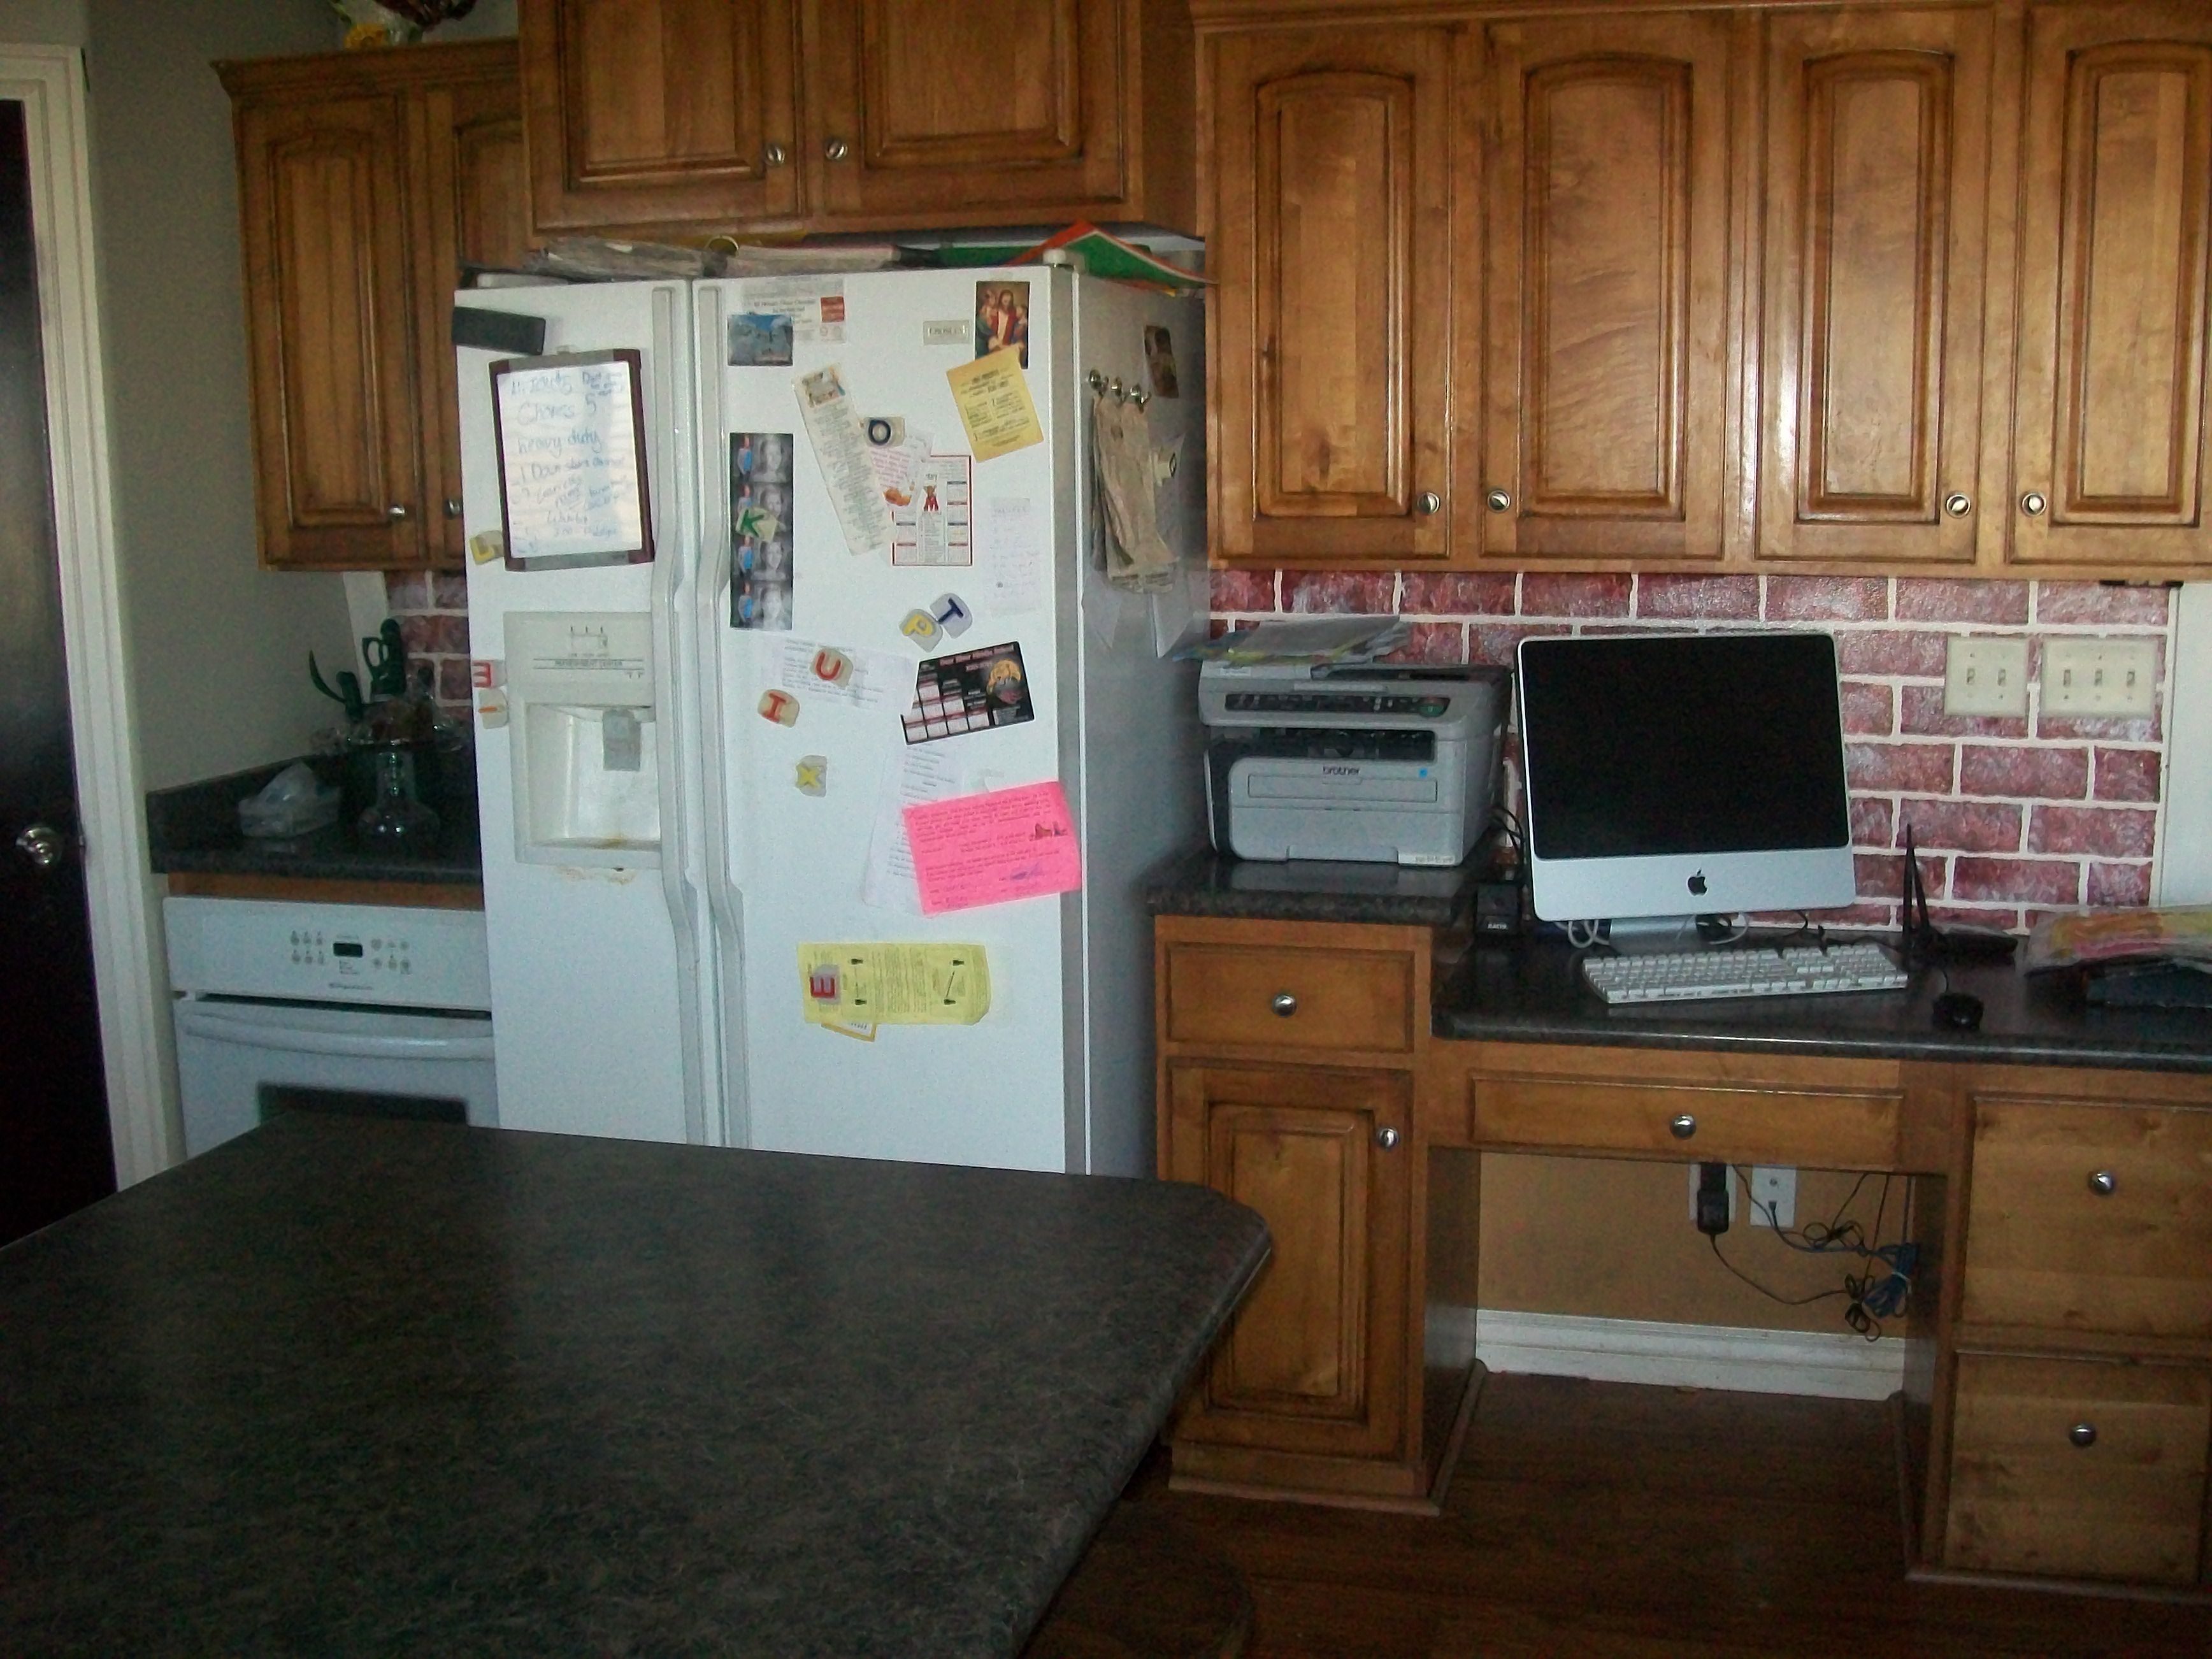
There’s our crazy office area…. messy fridge… you know, the kind you don’t see in the home magazines! Oh well… They must not have people actually LIVE in those homes! Oh man! I just realized I didn’t paint under my desk!!! That was my caramel color I had all over!

Enjoying seeing it clean… it won’t be for much longer… kids will be coming home from school in an hour or so!

A little too much white paint in some areas, but they are easy to cover up. Just use some of your colored paint and sponge back over it lightly!

I was about to give up, when I remember the sign I have on my counter… Finishers Wanted… Yep! I needed to finish what I started!!
I took my burgandy paint and my brown paint and put them both together on a plate. I did not mix them, but left them side-by-side. I took an old sponge and dabbed into both colors and just started sponging it onto the walls, making sure to get both burgandy and brown colors showing through. When it was dry, I did the same with white paint and a sponge! I then put a top coat of polycrylic (which I had on-hand) over it, AFTER I had removed all the tape. Some of these walls will get a fair amount of scrubbing and cleaning and it needs to be able to hold up to regular cleaning. This project took a lot of time, but quite honestly, could not have been more simple. Yes, I know, it is not the fancy real stone, but we do what we can afford to do, and I’m just fine with that!!
I still have just a few more trim pieces to paint and put up–don’t tell Ed I used hot glue. I didn’t have liquid nails and I couldn’t make any more trips into the store. It’s sticking really well, and will easily pop off should I ever change my mind again without damaging the wall too much! I also am going to have Ed help me make some curtain rods for the kitchen and the dining room; however, THAT project will have to wait until after Christmas!!
Ta-Da!! My new kitchen!!! What do ya think!!

You must be logged in to post a comment.